

Beaumont, Texas Water Pressure Testing
If you’re experiencing issues with low water pressure or suspect there might be a hidden problem within your plumbing system, Plumbing Solutions in Beaumont,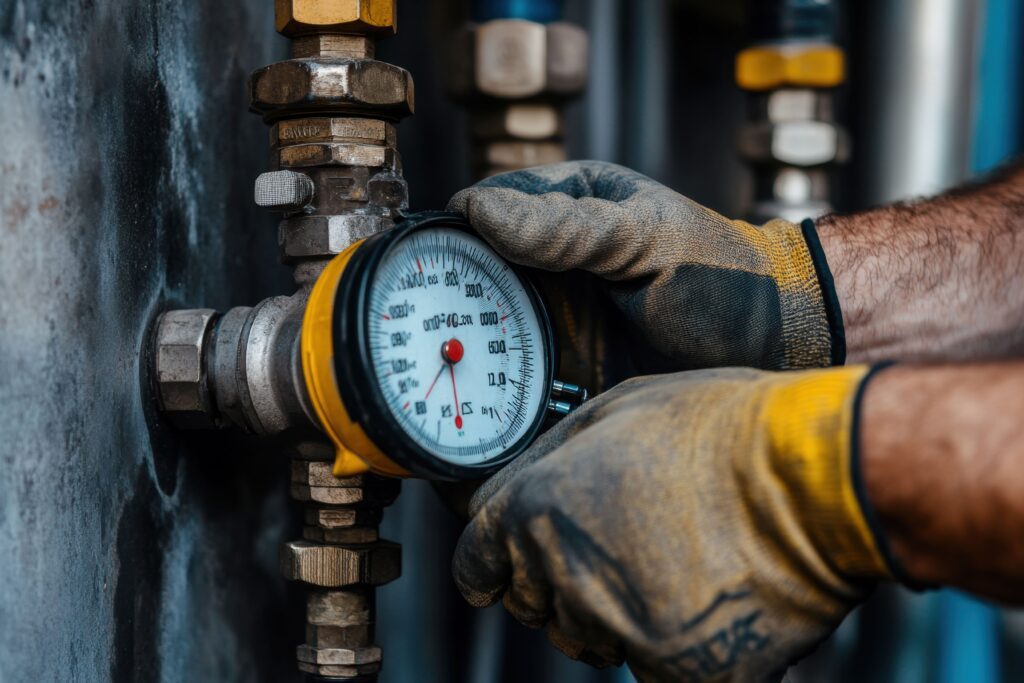 Texas, offers expert water pressure testing to identify and resolve the issue quickly. Our team of licensed and experienced plumbers uses state-of-the-art equipment to accurately assess your water pressure, ensuring it meets the proper standards for your home or business. Low water pressure can be caused by a variety of factors, such as leaks in the water line, clogged pipes, or issues with the municipal water supply, and our water pressure testing helps pinpoint the exact source of the problem. Once we’ve identified the issue, we provide efficient solutions to restore your water pressure to optimal levels, whether it’s through repairing leaks, clearing blockages, or replacing outdated pipes. At Plumbing Solutions, we prioritize customer satisfaction and aim to minimize disruption while providing high-quality service. If you’re in Beaumont, Texas, and need reliable water pressure testing, don’t hesitate to contact Plumbing Solutions for fast, affordable, and professional service that guarantees your water system is functioning at its best.
Contact Plumbing Solutions today at 409-840-5511 for reliable, efficient, and affordable plumbing services.
Water Pressure Testing Checklist
Preparation
-
Verify the System Requirements:
- Check the manufacturer’s or engineer’s specifications for the required pressure test values.
- Ensure that the system components, such as valves, pipes, and fixtures, are correctly installed and secure.
-
Obtain Necessary Permits:
- Confirm that you have any required permits to perform water pressure testing in your area.
-
Gather Tools and Equipment:
- Pressure gauge (calibrated and in good working condition)
- Test plugs, caps, or stoppers for closing pipe ends
- Pump (if required for the system)
- Hoses for connecting equipment
- Safety equipment (gloves, goggles, etc.)
-
Check for Leaks in the System:
- Ensure all connections are tightened and the system is ready to be pressurized.
System Isolation
-
Isolate the System:
- Close all valves or isolation points that are not part of the test.
- If testing a sub-section of the system, ensure the rest of the system is not pressurized.
-
Fill the System with Water:
- Purge air from the system by fully opening air release valves.
- Make sure the system is filled with clean water (or as specified for the test).
Pressure Test
-
Connect the Pressure Gauge:
- Attach the pressure gauge at the lowest point of the system or the point of the test.
-
Pressurize the System:
- Gradually introduce water or air into the system to the required pressure. Do this slowly to avoid damaging components.
- Record the starting pressure.
-
Hold the Pressure:
- Keep the pressure stable for the required duration (e.g., 30 minutes, 1 hour) as per industry standards or specifications.
- Ensure the system remains at the required test pressure.
Monitoring and Inspection
-
Check for Pressure Drop:
- Monitor the pressure gauge to ensure the pressure remains stable.
- Any significant drop indicates a leak or defect in the system.
-
Inspect All Fittings and Connections:
- Visually check all pipe joints, valves, and fittings for signs of leaks.
- Listen for any hissing sounds or check for damp spots.
-
Test Results:
- Record the final pressure and compare it to the initial pressure.
- If there’s a pressure drop, identify and repair the leaks before retesting.
Post-Test
-
Depressurize the System:
- Slowly depressurize the system once testing is complete, making sure to open valves carefully to prevent pressure surges.
-
Record Results:
- Document the test pressure, test duration, and any leaks found (including the location, if applicable).
- Include any corrective actions taken.
-
System Restoration:
- Restore the system by removing test plugs, caps, or any temporary equipment used during the test.
- Open any isolation valves that were closed during the test.
-
Cleanup:
- Remove all testing equipment and check for any tools left behind.
- Ensure the area is safe and dry, and dispose of any waste materials properly.